Product What is Notion? Help
Log in
Product What is Notion? Help
Help Center
Get started
  • Set up Link with Notion
  • Understand the workspace
  • Get started with Link
Deliver client work
  • Deliver a project
  • Keep project material in one place
  • Share a client overview
  • Publish a project page
Work with clients
  • Invite a client
  • Review and approve an estimate
  • Follow project activity
Public pages
  • Share a page publicly
Access & visibility
  • Public and private links
  • Workspace and client roles
  • Control page visibility
Customize Link
  • Brand your workspace
  • Choose workspace terminology
  • Use a branded portal address
Notion connection
  • Connect clients, projects, and people
  • Keep the template safe
  • Troubleshoot a Notion connection
Start here
  • Open a Link you received
  • Sign in to private work
  • Find your way around
Review work
  • Review a project
  • Review and approve an estimate
Access & sharing
  • Share a Link with a teammate

Product

Product overview What is Notion?

Support

FAQ Contact
I’m using Link as
I use Link to manage The help pages will use the same wording.
Help Center › Deliver client work

Deliver a project

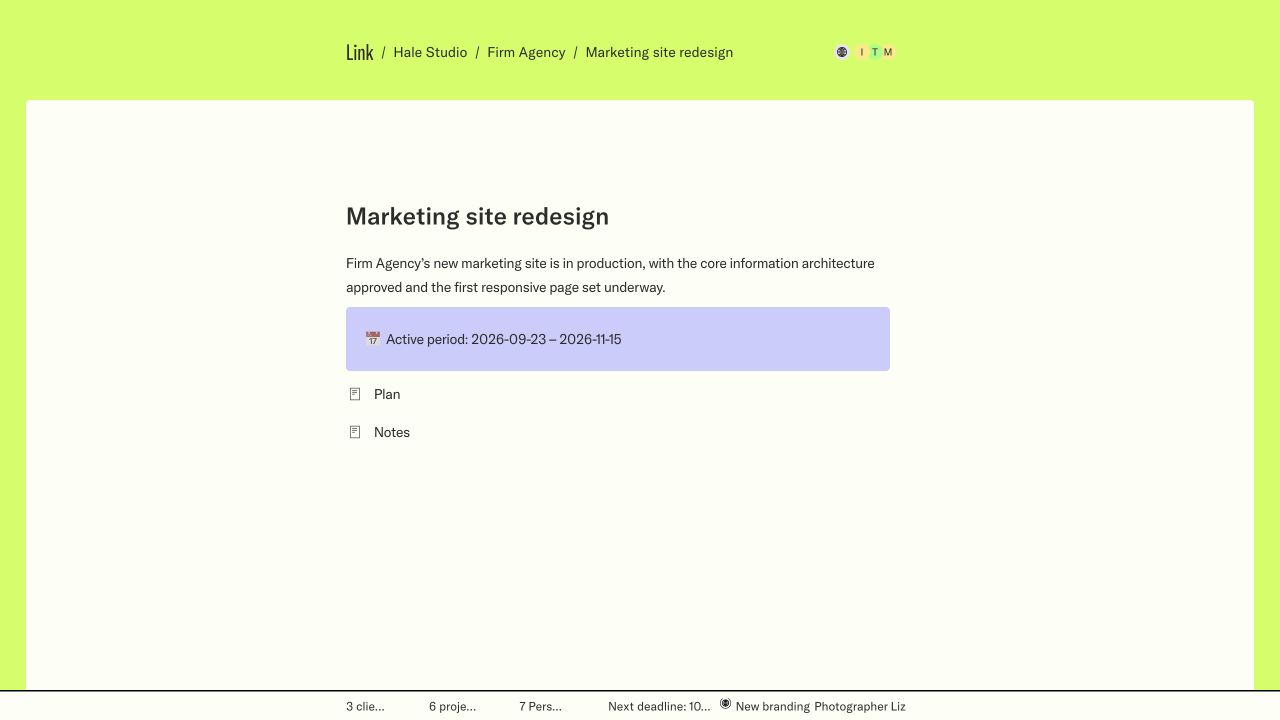
Move a client project from first scope to final handover while Notion stays the working source and Link stays the clear client view.

8 min read
One project, one visible path From scope to delivered
  1. 01
    Draft Shape the scope
  2. 02
    Estimate Set dates and price
  3. 03
    Estimate sent Invite the client admin
  4. 04
    Estimate approved Approval writes back
  5. 05
    In progress Keep the page current
  6. 06
    In review Check access and handover
  7. 07
    Delivered Share the final Link

A Link project is managed in the connected Notion template copy and presented as a focused page for the client. Status, delivery dates, people, page content, tasks, estimates, and visibility work together, so the client always sees the right version of the work.

Always work from a duplicated Link template.

Never connect the master template. In Link’s Notion settings, confirm the selected root is your private copy before you continue.

Before you begin

You need a connected workspace, a client record, and permission to manage that client’s projects. Decide who should be able to see the project before you send any link.

  • Workspace admin — manages the connection, workspace settings, branding, access, and visibility.
  • Link user — works on client projects in the connected workspace.
  • Client admin — can review estimates, comment, approve, and manage appropriate client access.
  • Client user — can view the client work made available to them.

Step 1

Create the project

Create the project in the Projects database inside your duplicated template. Relate it to the correct client, add the people involved, and use Draft while the scope is still internal.

  1. Name the project in language the client will recognize.
  2. Add the client relation, delivery period, project people, and useful page content.
  3. Keep the project private until the client-facing information is ready.
  4. Open the project in Link to check the title, status, timeline, and page structure.
Preview the client view early.

A clear title, realistic dates, and a short first update are more useful than a perfect page that arrives too late.

Step 2

Send the estimate

When the scope and amount are ready, move the project from Draft to Estimate. Check the delivery window and price in Link, then invite a client admin and set the status to Estimate sent.

The client admin can open the estimate inside the project page, read the dates and amount, leave a comment, and approve. Approval updates the project to Estimate approved in Link and writes the approved status back to Notion.

Before sending Check scope, price format, start date, delivery date, and client access.
During review Keep estimate questions in the project dialog so the decision stays with the work.
After approval Confirm the approved status in Notion before scheduling the project as active work.

Step 3

Start the work

After approval, set the project to In progress. The project should now function as a living handover: keep decisions, useful pages, tasks, files, dates, and the next deadline current in Notion, then let Link present the client-facing view.

  • Use the delivery period for the overall promise and page content for the detail.
  • Keep client-facing todos actionable; completed items can show progress without another status email.
  • Use nested pages for substantial workstreams, then set each page’s visibility deliberately.
  • Check the client overview and calendar after important date or status changes.

Step 4

Prepare review

Set the project to In review when the client should assess the work. Before sending the review link, open the exact Link page as the intended audience and check every visible surface.

The project and any shared child pages are public or private as intended. The client has access to private content and can sign in with the invited email. The latest files, decisions, dates, and todos are current from Notion. The copied link uses the canonical portal address, not a local preview.

Step 5

Deliver and close

Resolve the final review notes, confirm Notion is up to date, and set the status to Delivered. Share the project link or the most relevant child-page link with a short handover message that names what was delivered and what happens next.

Keep the project available while the handover is active. Archive it only when the client no longer needs it in the active overview; archived work is intentionally hidden from the normal project list.

A good delivery message is short.

“The project is delivered. The final files, decisions, and handover notes are in Link. Reply to this message if anything is unclear.”

Project checklist

All workflows Next: Share a client overview

Contents

Before you begin1. Create the project2. Send the estimate3. Start the work4. Prepare review5. Deliver and closeProject checklist

Client work, clearly delivered.

Link 2026

Product

Product overview What is Notion? Help center

Company

Company FAQ Get started

Legal

Privacy policy Terms Data deletion
Setting up your LinkConnecting your workspaceOrganizing your clients and projectsApplying your brandOpening your portalLoading...